
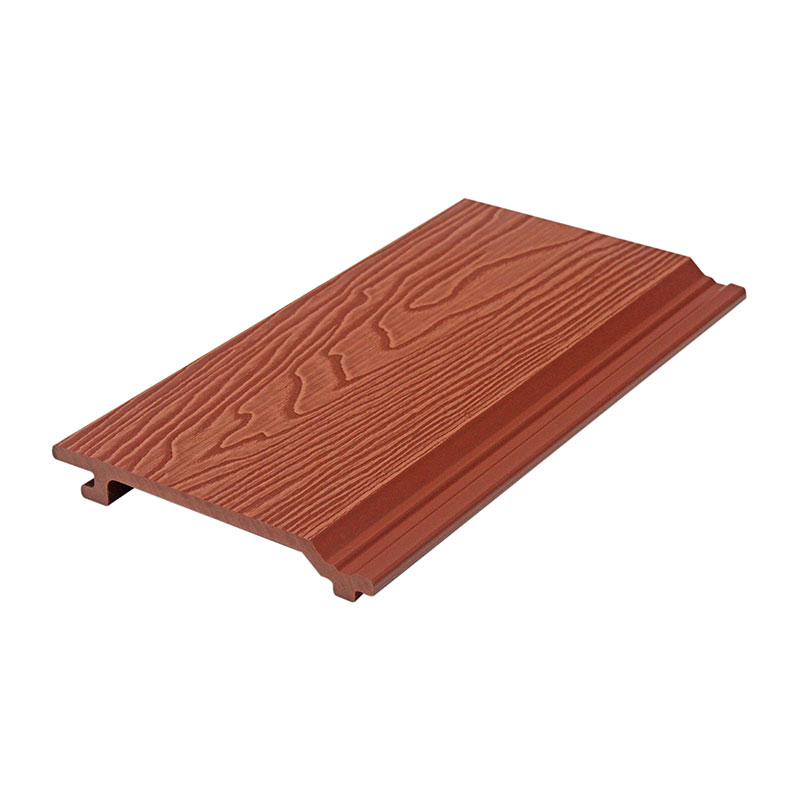
In recent years, Wood Plastic Composite (WPC) fluted panels have gained significant popularity in both interior and exterior design projects. These panels offer the perfect combination of aesthetic appeal, durability, and environmental friendliness, making them an excellent choice for modern construction and renovation. Whether you are a professional builder or a DIY enthusiast, understanding the correct installation process of WPC fluted panels can ensure a seamless finish and long-lasting performance.
### What Are WPC Fluted Panels?
WPC fluted panels are made by combining wood fibers with thermoplastic polymers, resulting in a material that boasts the natural look of wood with enhanced resilience against moisture, rot, and insect damage. Fluted panels feature a distinctive grooved or ribbed design, adding texture and depth to any surface. These panels are widely used for wall cladding, ceiling decoration, facade enhancements, and partition walls due to their versatility and maintenance-free properties.
### Company Background
Shandong WALLART New Building Material Co., Ltd. is a reputable enterprise integrating product development, production, and sales. The company specializes in manufacturing a broad range of WPC interior and exterior products as well as PVC products. With a commitment to innovation and quality, the company provides durable and eco-friendly materials that meet the demands of various architectural applications.
### Step-by-Step Installation Guide for WPC Fluted Panels
Installing WPC fluted panels correctly is crucial for achieving a sleek appearance and maximizing the panel’s lifespan. The following steps detail a professional approach to installation:
#### 1. Preparation and Planning
- **Assessment:** Begin by assessing the area where the panels will be installed. Measure the dimensions accurately to determine the required quantity of panels.
- **Surface Check:** The surface must be clean, dry, and structurally sound. Any old paint, dirt, or debris should be removed to ensure proper adhesion or fixing.
- **Tools and Materials:** Gather all necessary tools, including a power drill, screws, measuring tape, level, saw for cutting panels, adhesive (optional), and safety equipment like gloves and goggles.
#### 2. Substructure Installation
Before attaching the WPC panels, a suitable substructure or framework is needed. This can be made from aluminum profiles, treated timber battens, or metal channels, providing a sturdy base.
- **Spacing:** The battens should be spaced approximately 400mm to 600mm apart, depending on the panel size and installation location.
- **Alignment:** Use a level to ensure the framework is straight and even, as this will influence the final appearance of the panels.
- **Fixing:** Secure the battens/wall brackets firmly onto the base wall or ceiling using appropriate fasteners suitable for the substrate material (concrete, wood, brick).
#### 3. Panel Cutting and Preparation
- **Cutting:** Measure the panels accurately and cut them to size using a circular saw or jigsaw equipped with a blade suited for composite materials.
- **Edge Treatment:** Smooth any rough edges with sandpaper to avoid splinters and ensure a clean fit.
#### 4. Installing the Panels
- **Starting Point:** Begin installation from the bottom corner or edge, depending on the application. Position the first panel against the substructure.
- **Fastening:** WPC fluted panels can be fixed using screws or nails designed for composite materials. Pre-drill holes to prevent splitting or cracking.
- **Hidden Fixing Option:** For a cleaner look, use concealed fixing systems such as clips or brackets specifically made for WPC panels. This method conceals the screws and enhances the overall aesthetic.
- **Spacing Consideration:** Leave a small gap (usually 2-3 mm) between panels to allow for thermal expansion and contraction.
- **Alignment Check:** Continuously check alignment and level during installation to ensure straight and even rows.
#### 5. Finishing Touches
- **Filling Gaps:** Use a matching sealant or filler designed for WPC materials to fill any noticeable gaps or joints if necessary.
- **Cleaning:** Wipe down the installed panels with a damp cloth to remove any dust or debris.
- **Protection:** Although WPC panels are low-maintenance, applying a protective coating or UV-resistant finish can prolong their appearance, especially for exterior applications.
### Advantages of Using WPC Fluted Panels
- **Durability:** Resistant to moisture, warping, rot, and insect attacks, making them ideal for humid or outdoor environments.
- **Sustainability:** Manufactured using recycled materials, contributing to environmental protection.
- **Low Maintenance:** Requires minimal upkeep compared to traditional wood.
- **Aesthetic Appeal:** The fluted design adds elegance and texture, adaptable to various architectural styles.
- **Easy Installation:** Lightweight and compatible with different fixing systems, reducing labor time and costs.
### Applications of WPC Fluted Panels
Shandong WALLART New Building Material Co., Ltd. produces premium WPC fluted panels widely used in:
- Interior wall cladding and ceiling decoration in residential and commercial buildings.
- Exterior facades for weatherproof yet stylish building envelopes.
- Partition walls in offices and public spaces.
- Decorative elements in gardens and outdoor recreational facilities.
### Conclusion
Installing WPC fluted panels is a straightforward process that, when done correctly, results in a durable, attractive surface suitable for various applications. The combination of the superior product quality from manufacturers like Shandong WALLART New Building Material Co., Ltd. and proper installation techniques guarantees exceptional results. Whether renovating an old building or embarking on new construction, WPC fluted panels offer a sustainable, modern solution that meets both aesthetic and functional needs.
For more information on WPC products and innovative building materials, consider consulting industry professionals or trusted manufacturers to ensure you select the right product and installation method for your project.